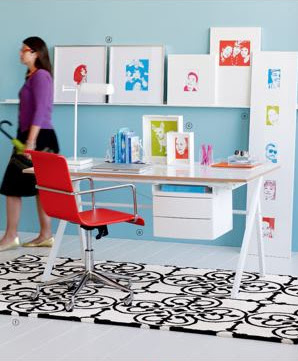
Have you seen this page in the new
CB2 catalog? It came in the mail last week and I dog-eared this page immediately. What a clever way to display family photos! It is so easy to do in Photoshop, too. I thought it might be fun to put together a simple little Photoshop tutorial on how to make these bright, posterized prints.
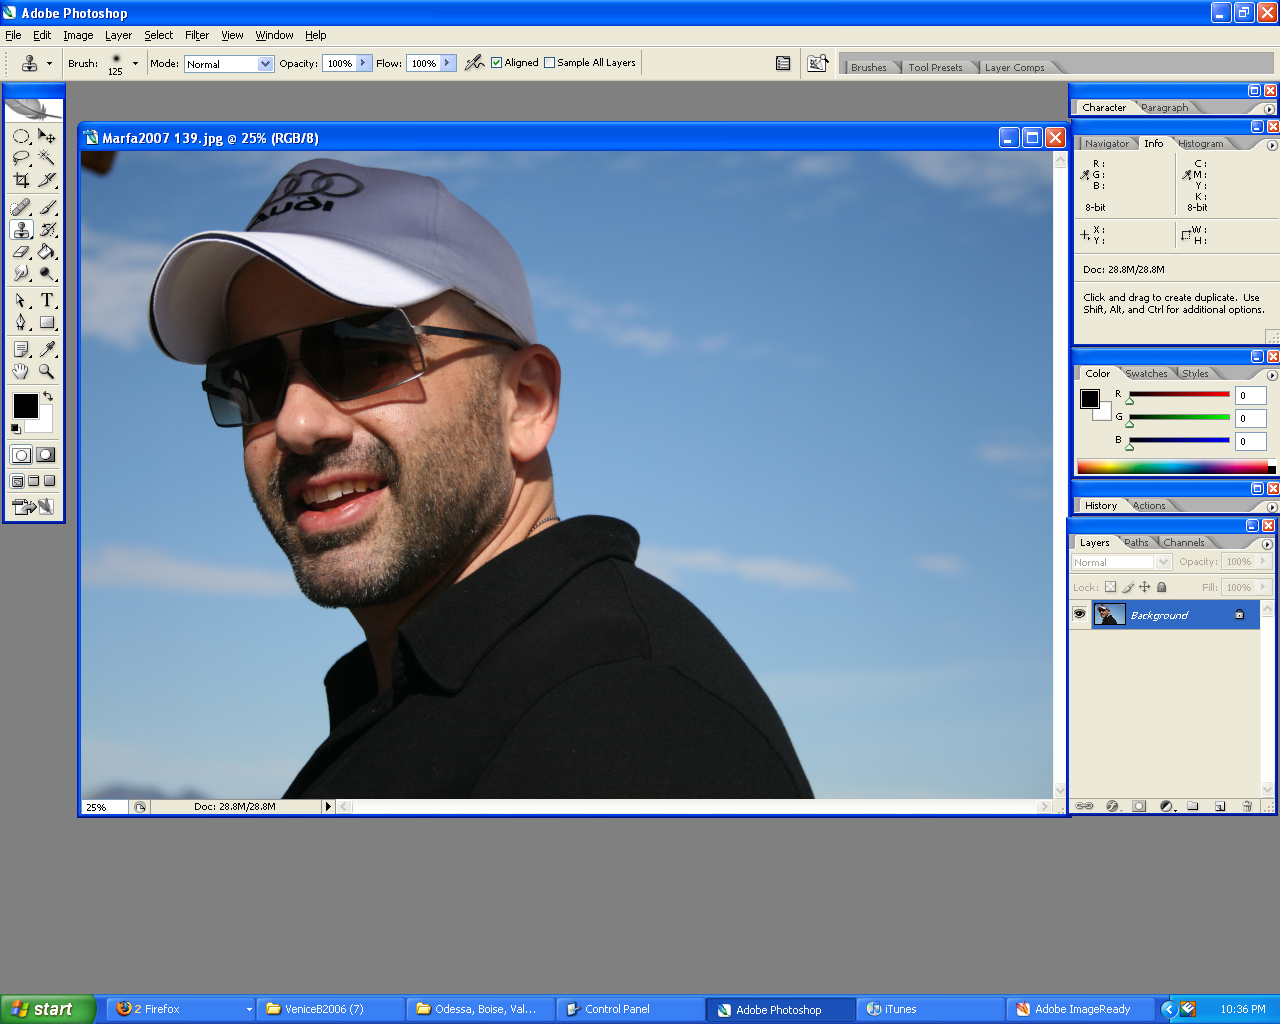
- Choose a nice, good quality (high resolution) photo without to much mess or noise or clutter going on in the background. This is a nice one of hubby smiling with nothin' but blue sky behind him.

- Crop in, if necessary. All the photos in room above are close-up shots of faces and heads which is really effective. As you crop, remember your standard frame sizes are 4x6, 5x7, 5x5, and 8x10. This will save some hassle later if you keep your crop proportionate to these sizes. In Photoshop, first drag the crop tool from corner to corner and let go to get the image proportions right. Then grab one corner and hold the shift key to keep your crop box in that same ratio. Let go and double click to set. To crop a perfect square, just drag the crop box with the shift key held down right from the start.
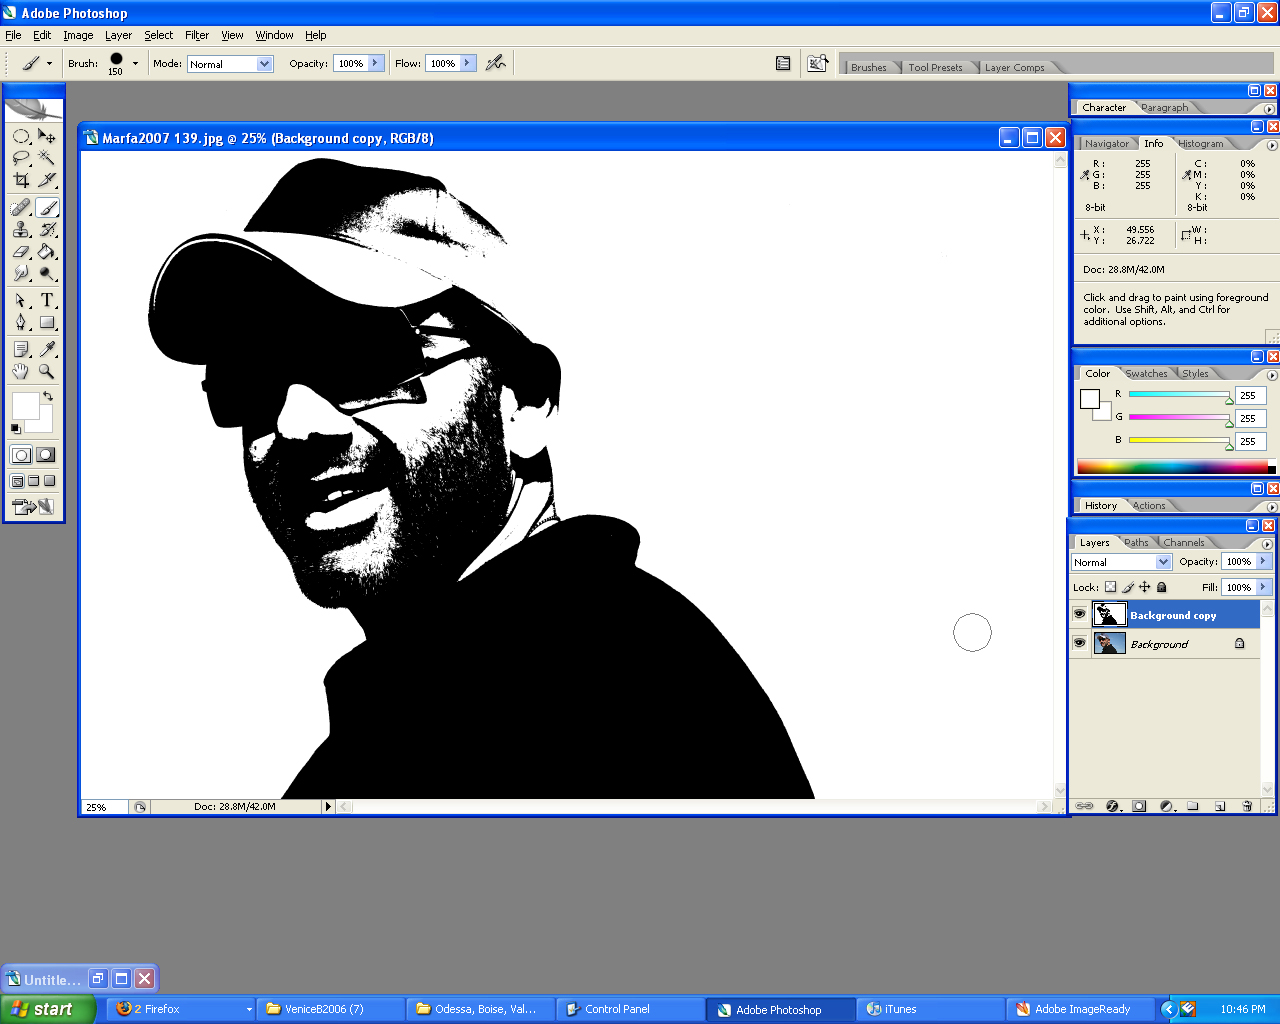
- Desaturate the image. Image>Adjustments>Desaturate or find your Hue/Saturation/Brightness slider and slide the saturation all the way down so your image looks black and white. (Don't convert the whole image mode to grayscale because we're going to add color again is just a few steps.)

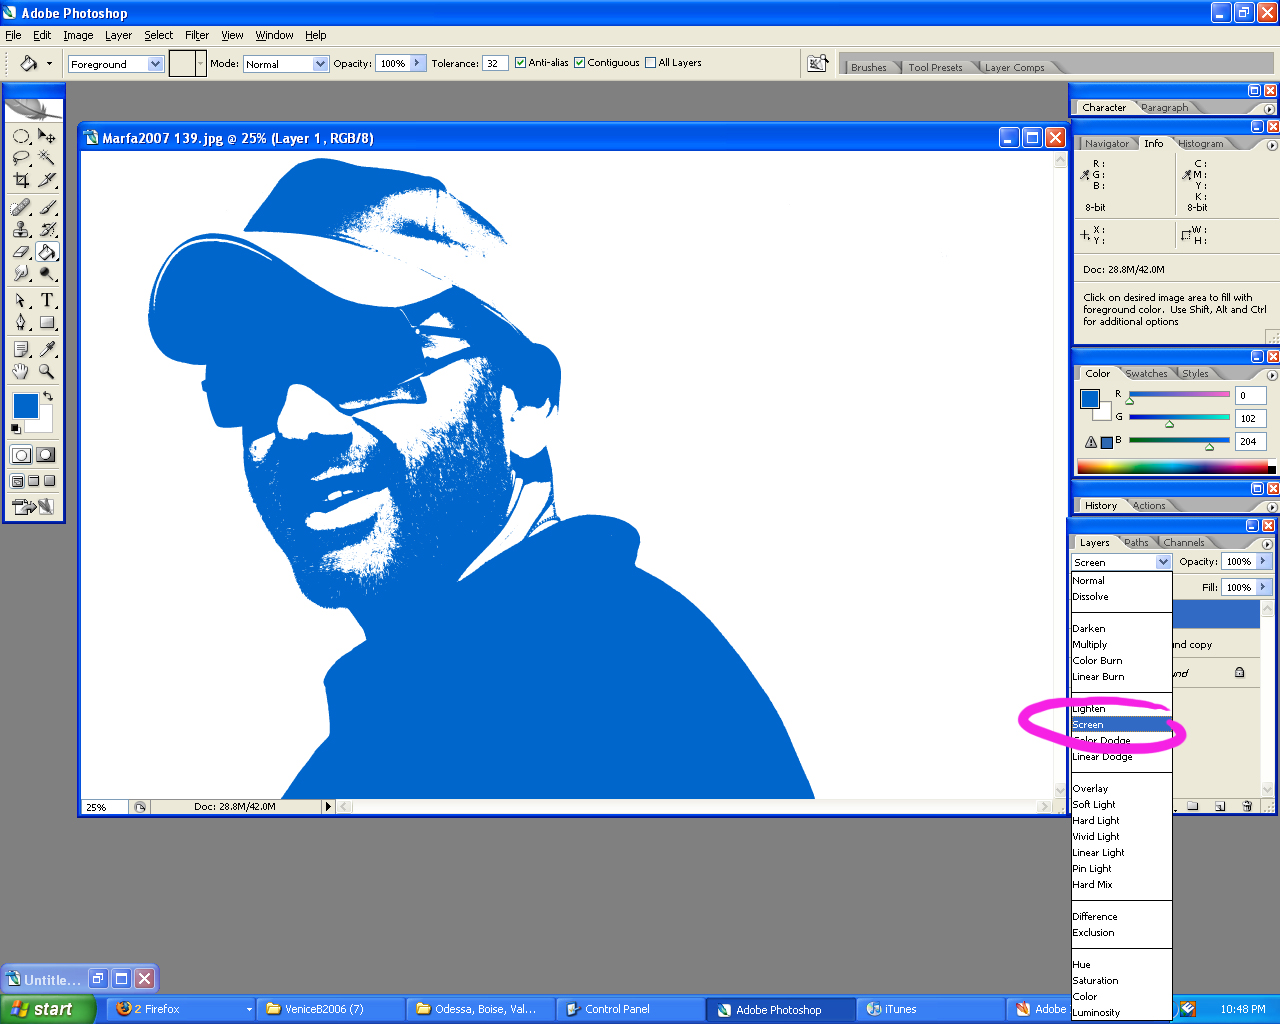
- Increase contrast till all your grays become either black or white and there is nothing left in between. In Photoshop, the easiest way to do this is Image>Adjustments>Posterize and set the levels to 2. You could also use your levels or curves in adjustments if you like to have more control. (Ctrl L fro Photoshoppers, or Enhance>Lighting>Levels for Elements users.)


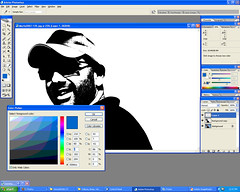
- Paint or erase out any unwanted junk. . .

- Create a new layer, choose a color, and fill new layer with your Fill tool (paint bucket).


- Set the Blending Mode for the color layer to Screen. The blending modes are in the drop down menu of the layers toolbox at the bottom right hand of screen. (Check out some of the other blending modeswhile your there, though. "Hard Light" is pretty cool. . .)

- Print, frame and wow your friends.

- These may look best as a whole collection, so try a bunch! Or, one huge poster print would be super cool, as well. This one of hubby is going to be my desktop wallpaper for the month.
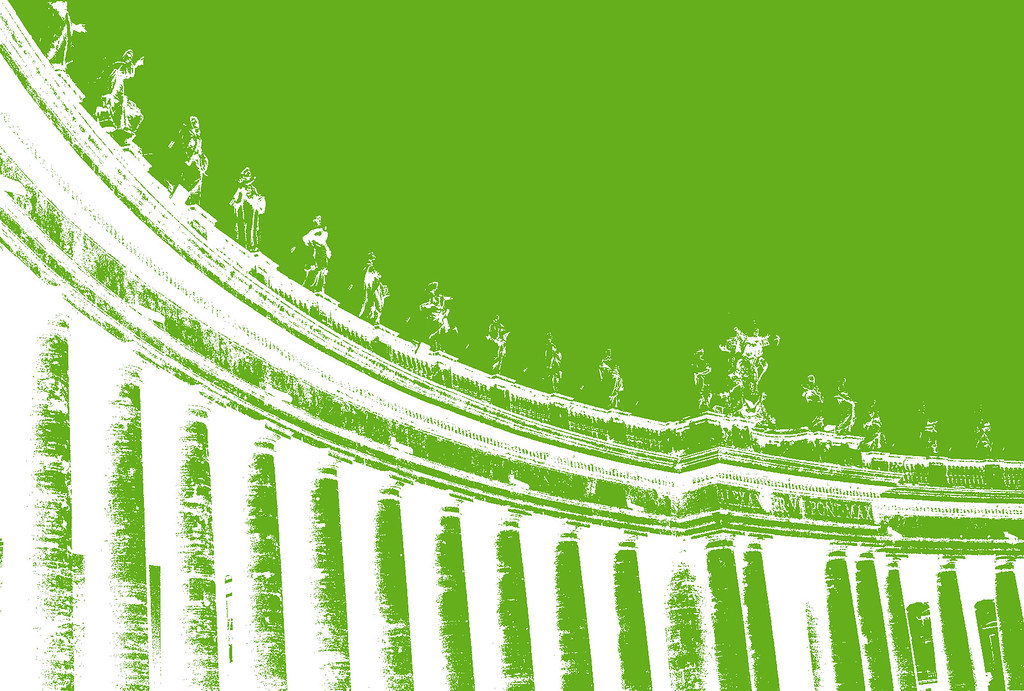
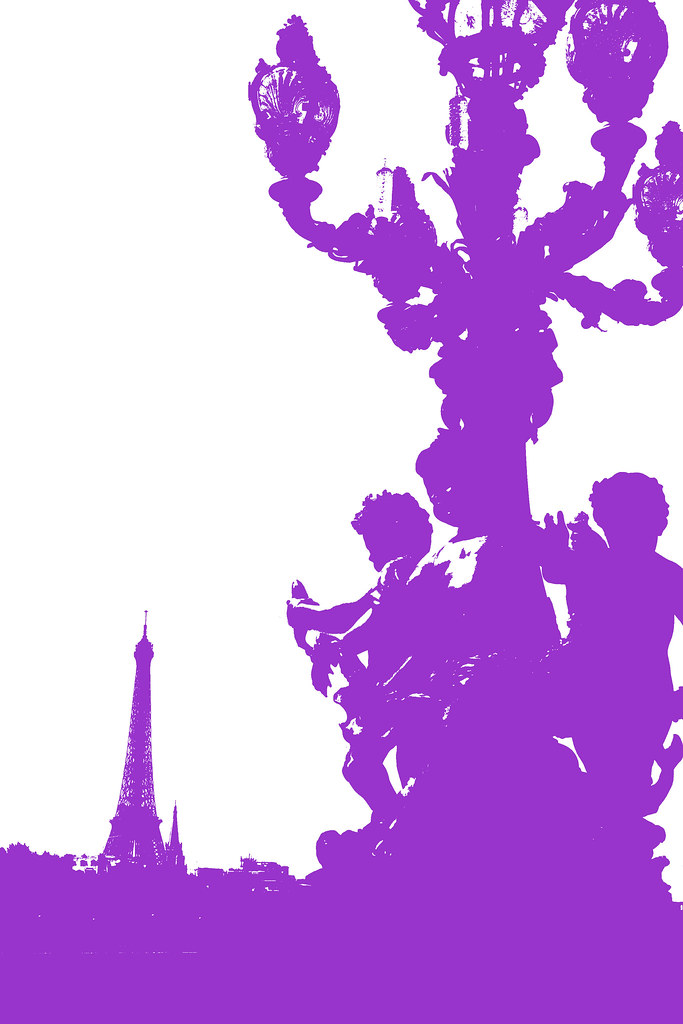
- I realized this is also a fun way to spice up travel photos. Also, try inverting the black and white layer to see which version you like best, in negative or postive. Ctrl I. Here are some of the other ones I came up with:


(**I'm using Photoshop CS2 for these. I'd love to hear if this works the same way in Photoshop Elements. **)


Comments
Becky
Help!! (I'm using P-Elements and am a complete newbie so that might be part of the problem). What do you think?